Create a Document Library list
The first step of your web part configuration is creating a SharePoint Document Library. You will use this list to store your Documents.
Let's create your list:
-
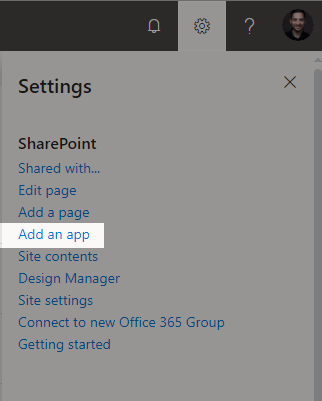
Open the settings menu and click on Add an app;
-
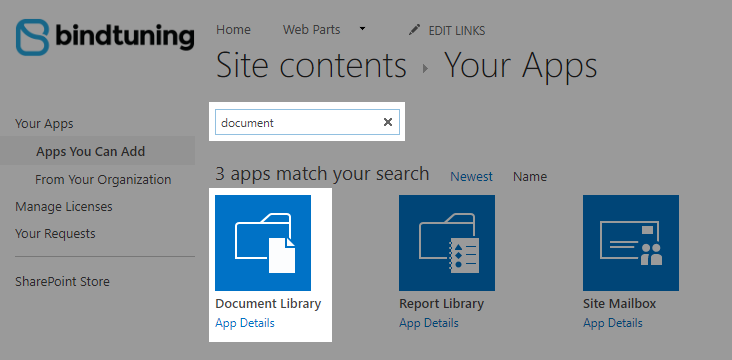
On the search box type Document;
- Look for the Document Library and open it;
- Pick a name for the app and click on Create;
- You've created the list that will contain all the specific fields from this web part.
For your web part to work, you need to choose between using the SharePoint Document Library list that you created or to use the Search Results option, that works with SharePoint Search.
SharePoint Document Libraries

Now is time to select the list that you have created. In the first field, you can write your SharePoint site relative path or the list URL. In the second one, you should select the list that you want to use in this web part and click on the disk icon to save it.
Here are a few recommendations and heads up:
- Use relative paths for this field. So instead of using an URL like https://company.sharepoint.com/sites/Home, you should use something like /sites/Home/. This will ensure that the web part will work regardless of how you’re accessing the site.
Search Results
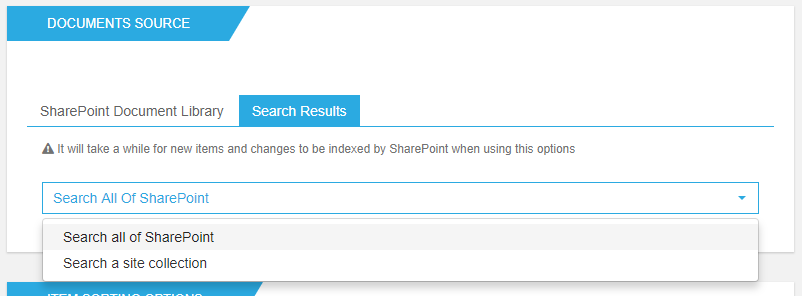
By choosing this option, you'll be able to:
- Search all of SharePoint, if you want to search all the documents in all site collections (to wich you have access);
- Search a site collection if you want to search all the documents in a specific site collection. Here you need to write the Site Collection URL in a field below the dropdown.
Note that the Folder Structure option will not work while using search.
Folder Options

Here you can define a target subfolder of the documents library.
If you specify a target folder, the WebPart only shows the documents of that specific folder and it's not possible to navigate through other folders
Item Sorting Options
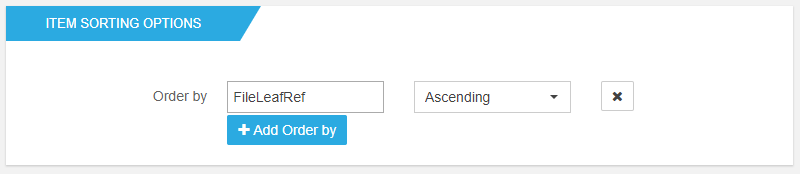
Here you can define what will be the order of your tiles using the internal name of one of your list colunms name.
You will need to type the internal name of the list column on the Order by text box - we will sort the documents according to the value you enter.
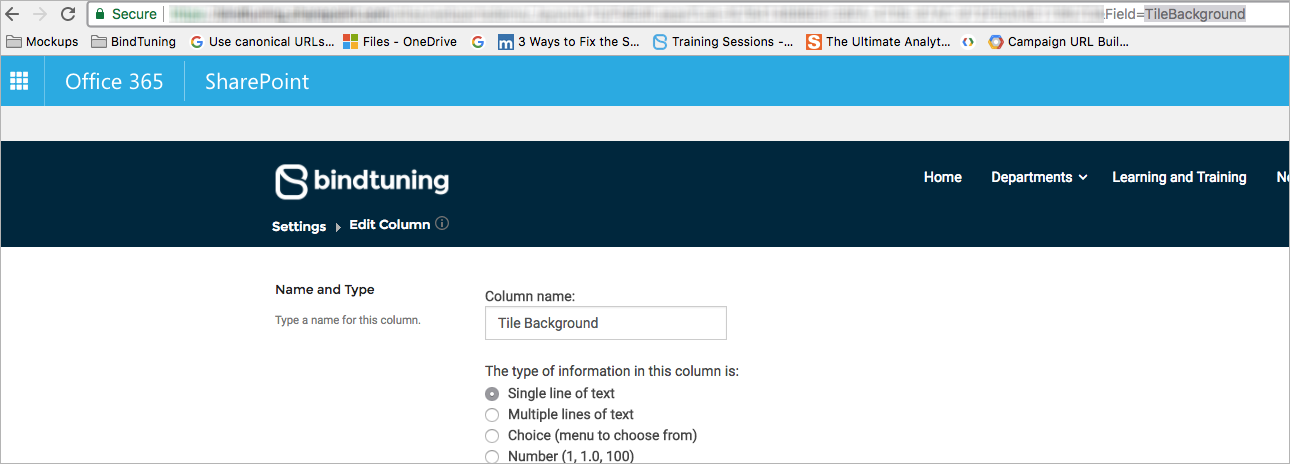
Here is what you need to do to check a column's internal name:
- Access Site contents and open your list;
- On the top menu, click on List and then List Settings (or Settings > List Settings);
- On the Columns section, click to open the colum name you want to use;
- Inside, on the URL look for "...&Field=...".
- Copy the internal name;
- Now paste the name on the text box;